Operation Manual
Table Of Contents
- Contents
- Television Overview
- Connecting and Appendixes
- External Devices & NetCommand® Setup
- NetCommand® Pre-Memorized Devices
- Antenna or Wall Outlet Cable for Digital Broadcasts
- Separate UHF and VHF Antennas for Analog Broadcasts
- Single Analog Antenna or Wall Outlet Cable
- Cable Box
- Analog VCR to Analog Antenna or Wall Outlet Cable
- Analog VCR to a Cable Box
- Analog VCR with Composite Video and S-Video with Audio Connections
- A/V Surround Sound Receiver or Stereo System
- DVD Player with Component Video
- Satellite Receiver with S-Video
- DTV Connectors and Adaptors
- External Digital TV (DTV or HDTV) Receiver with Component Video Connections
- External Digital TV (DTV or HDTV) Receiver with RGB, HV Connections
- MonitorLink™ with MonitorLink
- External DVI Device with DVI-HD
- Computer with a PC Monitor Output
- IR Emitter NetCommand®
- IR Repeater
- Helpful Hints
- Appendix A: Cleaning and Service
- Appendix A: Cleaning the Dust Filter
- Appendix B: Lamp Cartridge Replacement
- Using the System Reset Button
- WL82913_OG2_rev1.pdf
- Contents
- Basic Functions
- NetCommand® Functions
- Programming the Remote to Control NetCommand® A/V Products
- 3D Graphical Viewpoint Menu System
- Remote Control with NetCommand® Setup
- NetCommand® Initial Setup Guide
- NetCommand Editing Guide
- NetCommand® Initial Setup
- Edit NetCommand®, Adding an A/V Receiver
- Edit NetCommand®, Adding Devices
- Edit NetCommand®, Change or Delete Devices, Finish Screen
- Device Selection
- TV Menu Screen Operations
- Special Features
- NetCommand® Controlled Peer-to-Peer Connections
- NetCommand Remote Control Buttons: Device Menu, Guide
- Recording on a NetCommand Traditional VCR, A/V Disc Search, Track List Screen
- Memory Card Playback
- PC Viewing
- Device Menu with NetCommand®
- Software Updates
- Operation of PIP and POP
- Display Formats
- TV Display Formats
- PC Display Formats
- Appendix A: Bypassing the V-Chip Lock
- Appendix B: Input Connection Compatibility
- Appendix C: Remote Control Programming Codes
- Appendix D: On-Screen Information Displays
- Appendix E: NetCommand® Specialized Device Keys
- Troubleshooting
- Using the System Reset Button
- Index
- Warranties
- Contents

58
59
NetCommand
®
Controlled Peer-to-Peer Connections
What is a Peer-to-Peer Connection?
Figure 1
A peer-to-peer connection allows the IEEE 1394 devices
in your TV network to talk to each other without the
further need of TV intervention once the peer-to-peer
connection is established.
For example, the TV can setup a connection for an
A/VDisc or DVCR that sends a recorded program to an
IEEE 1394 monitor in another room. NetCommand will
establish the connection between the two devices. Once
the connection has been established, the TV can be
turned off or used to watch another device. Recording
from Ant-DTV to a DVCR is also a peer-to-peer
connection. In this case the TV is one of the devices in
the peer-to peer connection.
Analog or traditional (non-digital) devices can not be
used for peer-to-peer connections.
Canceling a Current Peer-to-Peer
Connection
When a peer-to-peer connection has been established,
you can cancel the connection by highlighting the source
device in the Device Selection menu. Confirm that the
icon for the peer-to-peer connection is in the Connection
Section next to the TV icon. Press the CANCEL key. The
peer-to-peer connection will end and the destination icon
will be removed. If there is more than one peer-to-peer
connection for the same device, all of the connections will
all be canceled.
NOTE: Multiple peer-to-peer connections can
occur simultaneously, sometimes with the same
source device. Also, please note that peer-to-peer
connections are NOT listed on the Record List
screen.
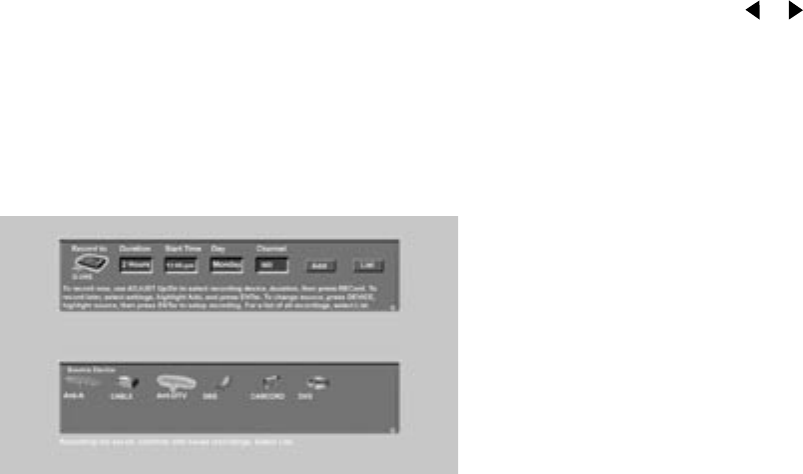
Figure 1. Record to screen
Setting up a Peer-to-Peer Connection
A peer-to-peer connection is a current connection and
cannot be setup as a delayed connection.
To establish a peer-to-peer connection:
1. Press CONNECT on the TV remote.
2. Press DEVICE on the remote control to see the
source device choices.
3. Press ADJUST or to select the source device.
4. Press ENT(er) to confirm selection and return to the
“Record to” section.
5. In the “Record to” section, review the destination
device (example: DVHS) and duration. Change if
necessary.
6. Press CONNECT a second time to start the session.


