Owner's Manual
Table Of Contents
- Installation/Owner's Manual
- Safety Information
- FCC Compliance
- Preparation
- Wiring Diagram - Inputs/Outputs
- Control Locations
- General Operation
- AM/FM Tuner Operation
- USB Operation
- Media Compatibility - USB
- Bluetooth Operation
- Navigation Operation
- Navigation Hot Button
- Dual iPlug P1 Smart App Remote Control
- Voice Activation
- Front 3.5mm Aux Input
- Specifications
- Limited One Year Warranty
- Troubleshooting
- Quick Start Guide
- Navigation Operating Instructions
- Warnings & Precautions
- Safety Information
- Contents
- Quick Start Guide
- Introduction
- Getting Started
- Initial Setup
- Navigation Menu
- Buttons and Other Controls on the Screen
- Map Screen
- Navigating
- Selecting the Destination of a Route
- Entering an Address or a Part of the Address
- Entering an Address (United States)
- Entering an Address (Canada)
- Entering an Address Starting with the Street Name (in the United States only)
- Entering the Midpoint of a Street as the Destination
- Selecting an Intersection as the Destination
- Selecting a City/Town Center as the Destination
- Entering an Address with a Zip Code
- Tips on Entering Addresses Quickly
- Selecting the Destination from the Places of Interest
- Selecting a Map Location as the Destination
- Selecting the Destination from Your Favorites
- Selecting One of the Most Likely Destinations (Smart History)
- Selecting a Recent Destination from the History
- Entering the Coordinates of the Destination
- Building a Route from the List of Destinations (Create Route)
- Entering an Address or a Part of the Address
- Viewing the Entire Route on the Map
- Checking Route Parameters and Accessing Route Related Functions
- Modifying the Route
- Selecting a New Destination When Already Having a Route: New Route, Waypoint or Final Destination
- Setting a New Starting Position for the Route
- Editing the List of Destinations (Edit Route)
- Pausing the Active Route
- Cancelling the Active Route
- Checking Route Alternatives when Planning the Route
- Checking Route Alternatives for an Existing Route
- Changing the Vehicle Used in Route Planning
- Changing the Road Types Used in Route Planning
- Saving a Location as a Favorite Destination
- Saving a Location as an Alert Point
- Editing an Alert Point
- Watching the Simulation of the Route
- Reference Guide
- Concepts
- "More" Menu
- Settings Menu
- Glossary
- End User License Agreement

132
%VBM/BWJHBUJPO
5SJQ.POJUPS4FUUJOHT
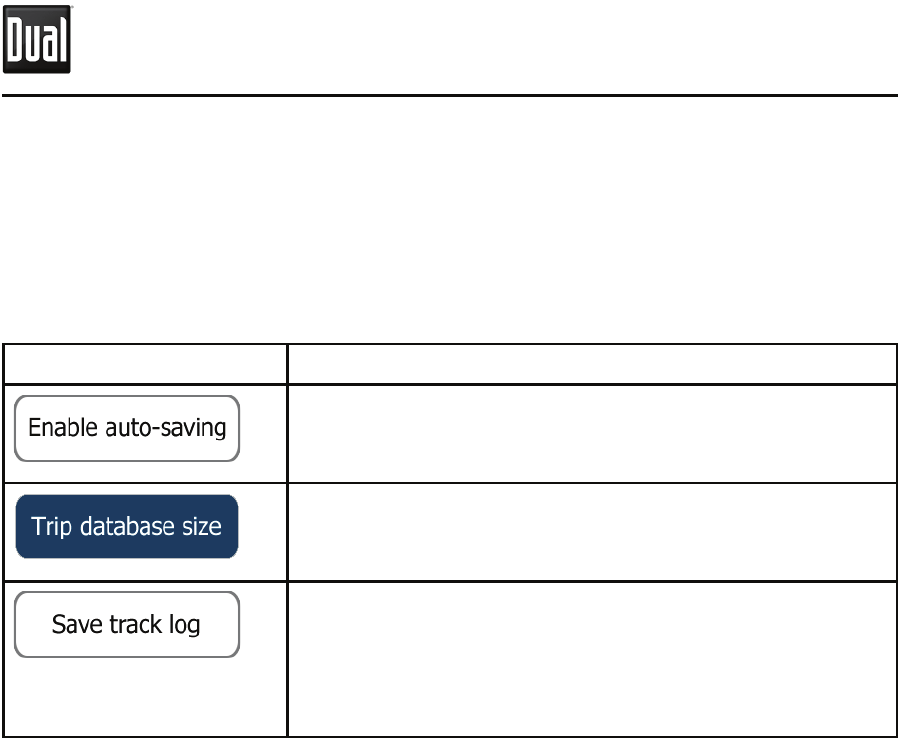
Trip logs and track logs contain useful information about your trips. Trip logs
can be saved manually when you reach your destination or you can turn on the
automatic saving here. You can access these logs in the Trip monitor. Trip monitor
is available from the More menu.
#VUUPO %FTDSJQUJPO
Trip monitor can record statistical data of your trips. If
you need these logs later, you can let the application
save them automatically for you.
This is not a button. This line shows the current size
of the trip database, the sum of all trip and track logs
saved.
Track logs, the sequence of the positions given by the
GPS receiver, can be saved together with trip logs.
They can later be displayed on the map. You can let
the application save the track log whenever it saves a
trip.
Enable auto-saving
Trip database size
(
Save
track
log
)


