
Technical information


Table Of Contents
- Contents
- Chapter 1 Introduction
- Chapter 2 Printing With the MultiPASS C5500
- Chapter 3 Using the MultiPASS Desktop Manager
- Chapter 4 Sending Faxes With the MultiPASS C5500
- Chapter 5 Receiving Faxes
- Chapter 6 Scanning With the MultiPASS C5500
- Chapter 7 Working With Documents in The Desktop Manager
- Managing Your Documents in the Desktop Manager
- Selecting Documents in the Desktop Manager
- Printing a Document in the Desktop Manager
- Creating a Folder
- Moving a Document
- Copying a Document
- Renaming a Document or Folder
- Deleting a Document or Folder
- Restoring a Deleted Document
- Emptying the Trash Folder
- Importing a Document
- Exporting a Document
- Attaching a Document to Electronic Mail (E-Mail)
- Manipulating a Document in Document View
- Merging a Document
- Indexing a Searching for Documents
- Modifying a Document
- Printing the Document
- Adjusting the MultiPASS Viewer Default Options
- Managing Your Documents in the Desktop Manager
- Chapter 8 Setup and Other Utilities in the Desktop Manager
- Chapter 9 Maintaining the MultiPASS C5500
- Chapter 10 Troubleshooting
- Appendix A Specifications
- Appendix B Using the MultiPASS C5500 as a Stand-alone Fax
- Glossary
- Index
2-6 Printing With the MultiPASS C5500 Chapter 2
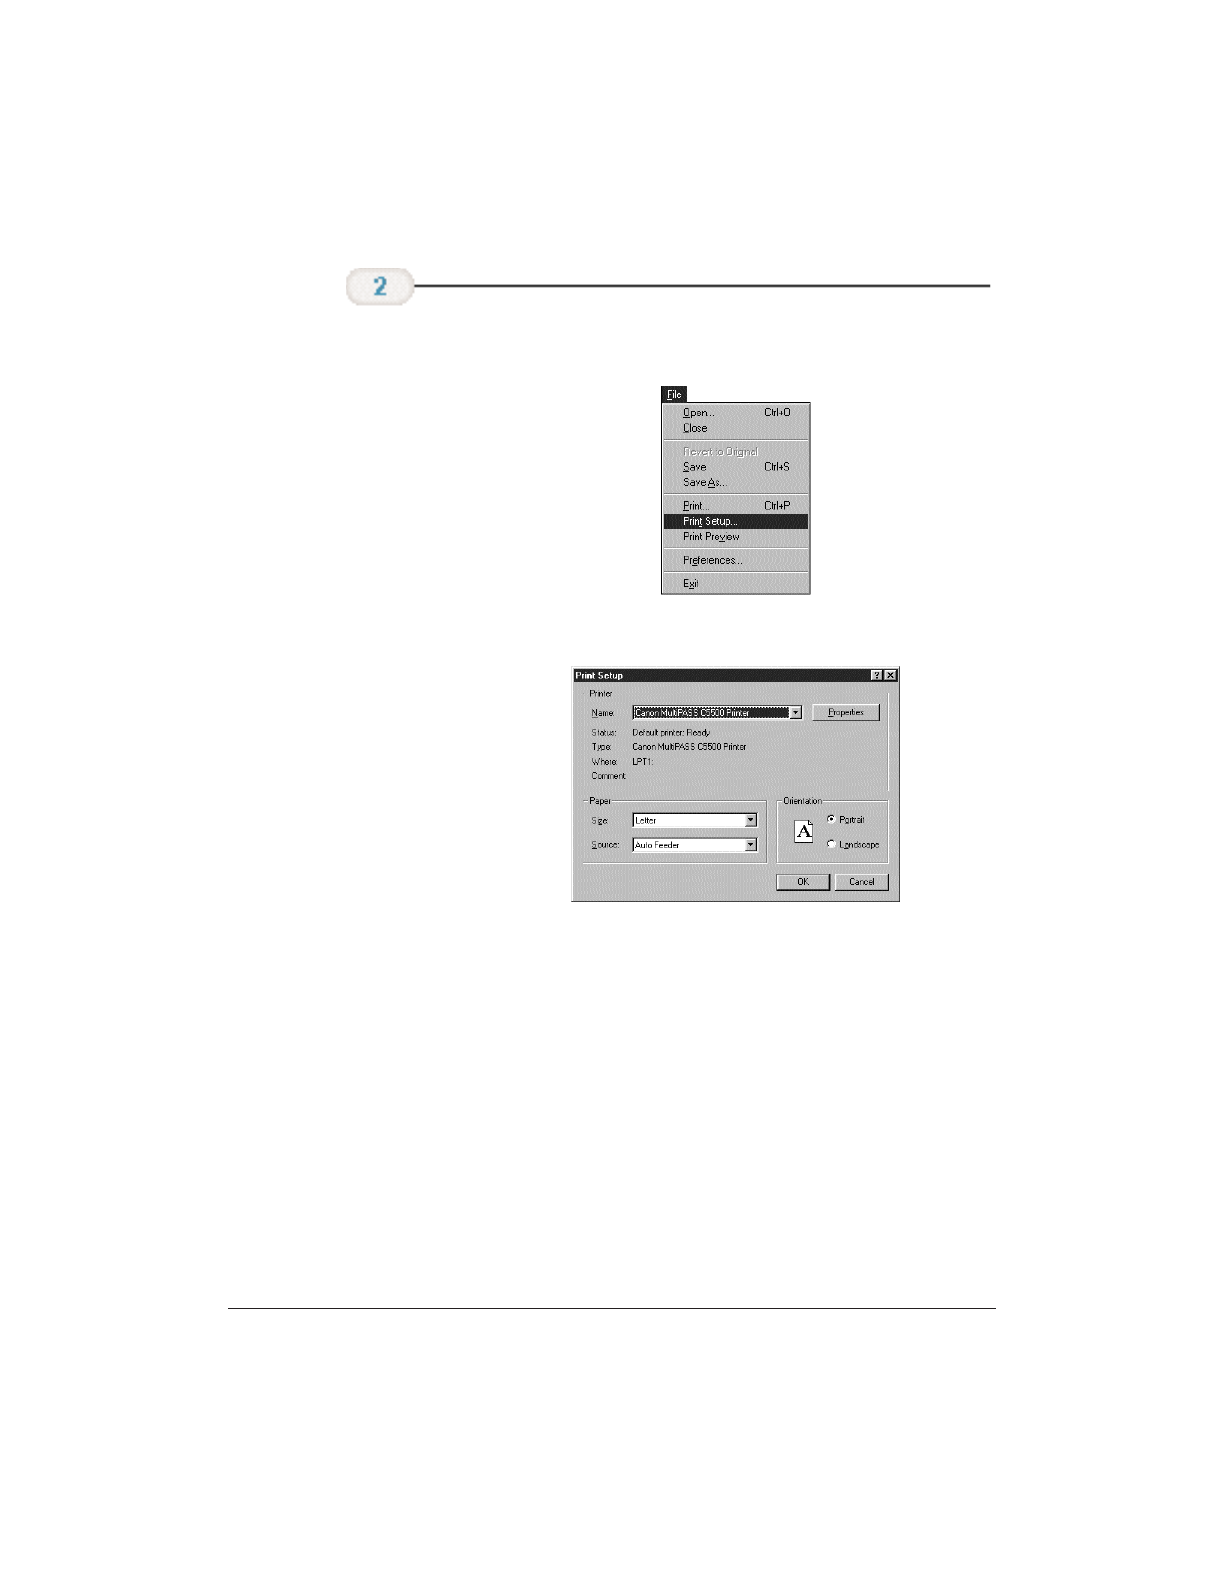
❍ Choose Print or Print Setup from the File menu.
❍ You will see a screen similar to this:
❍ Click on the Properties (or Setup) button if you want to
make any adjustments as appropriate for printing your
document. (See Printer Setup Within Windows on the
following page for details.)
❍ After making any necessary changes to the printing
parameters, select OK to start the print job.
Make sure the
Canon MultiPASS
C5500 Printer is
selected as your
default printer.