Digital Photo Professional Ver.4.0 for Macintosh Instruction Manual
Table Of Contents
- Digital Photo Professional
- Introduction
- Downloading Images
- Viewing Images
- Organizing and Sorting Images
- Editing Images
- RAW Images
- Editing JPEG and TIFF Images
- Tool Palettes
- Editing with the Basic Adjustment Tool Palette
- Editing with the Tone Adjustment Tool Palette
- Editing with the Color Adjustment Tool Palette
- Editing with the Detailed Adjustment Tool Palette
- Editing with the Trimming/Angle Adjustment Tool Palette
- Editing with the Lens Correction Tool Palette
- Editing with the Dust Delete/Copy Stamp Tool Palette
- Setting Work Color Space
- Saving Editing Results
- Re-Editing an Image
- Utilizing Adjustment Contents (Recipe)
- Adjusting by Comparing Multiple Images
- Editing Efficiently
- Transferring a RAW Image to Photoshop
- Customizing the Main Window Toolbar
- Printing Images
- Processing Large Numbers of RAW Images
- Remote Shooting
- Specifying Preferences
- Reference

54
3
Sorting
Images
1
2
4
5
Introduction
Contents
Downloading
Images
Viewing
Images
Printing
Images
Editing
Images
Reference/
Index
6
Processing
Large Numbers
of RAW Images
7
Remote
Shooting
8
Specifying
Preferences
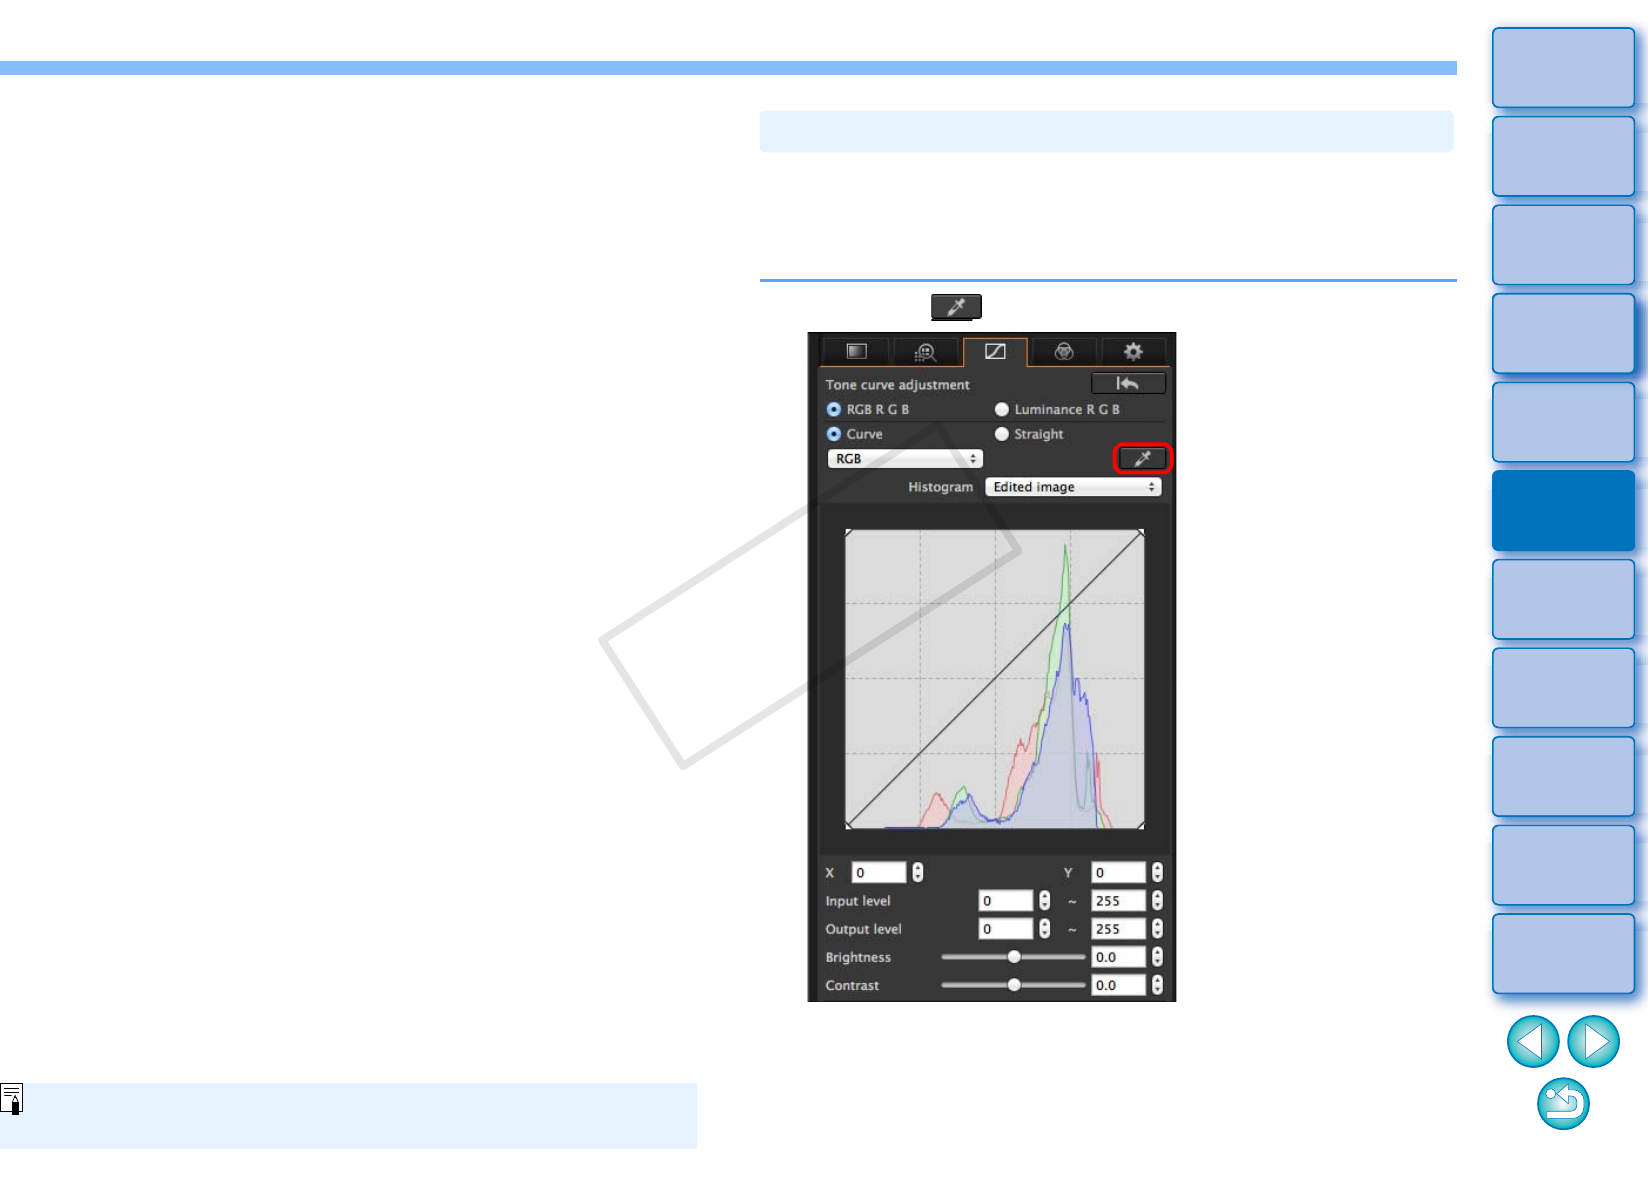
Brightness: Move the slider to the right to make an image
brighter and to the left to make an image darker.
Contrast: Used to adjust modulation and degree of contrast
of color. Move the slider to the right to make
contrast of an image stronger and to the left to
make contrast weaker.
The adjustment range is –100 to +100 (in 0.1-stop increments when
entering a value).
You can adjust white balance using a selected part of an image as the
standard for white to make the image appear natural. Using click white
balance is effective when using it in parts of an image where white color
tone has changed under the influence of a light source.
1
Click the [ ] button.
Adjusting Color Tone Using Click White Balance
COPY


