INSTRUCTIONS FOR THE USE AND CARE OF GAUSSIAN BUILT IN OVEN Model No.
Warnings and Directions relevant warnings, installing or using the appliance. 1t is most important halt this instructions booklet should be relined with the appliance for future reference. Should the appliance be sold or transferred to another owner, or should you move house and leave the appliance, always ensure that (he booklet is supplied with the appliance in order that the new owner can be acquainted with the functioning of the appliance and the ‘These warnings are provided in the interest of safety.
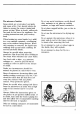
The microwave faction Hems which are overcooked can ignite and cause a fire. Care should always be taken to ensure the correct timing and power setting. When in doubt, undertook first and do not leave the appliance. See cooking instructions and your cookery -book. When heating up some liquids (e.g. milk) in & very smooth container, overheating may occur without being obvious, When the container is removed, the liquid may suddenly boll up and cause scalding. Do not boil alcoholic drinks.
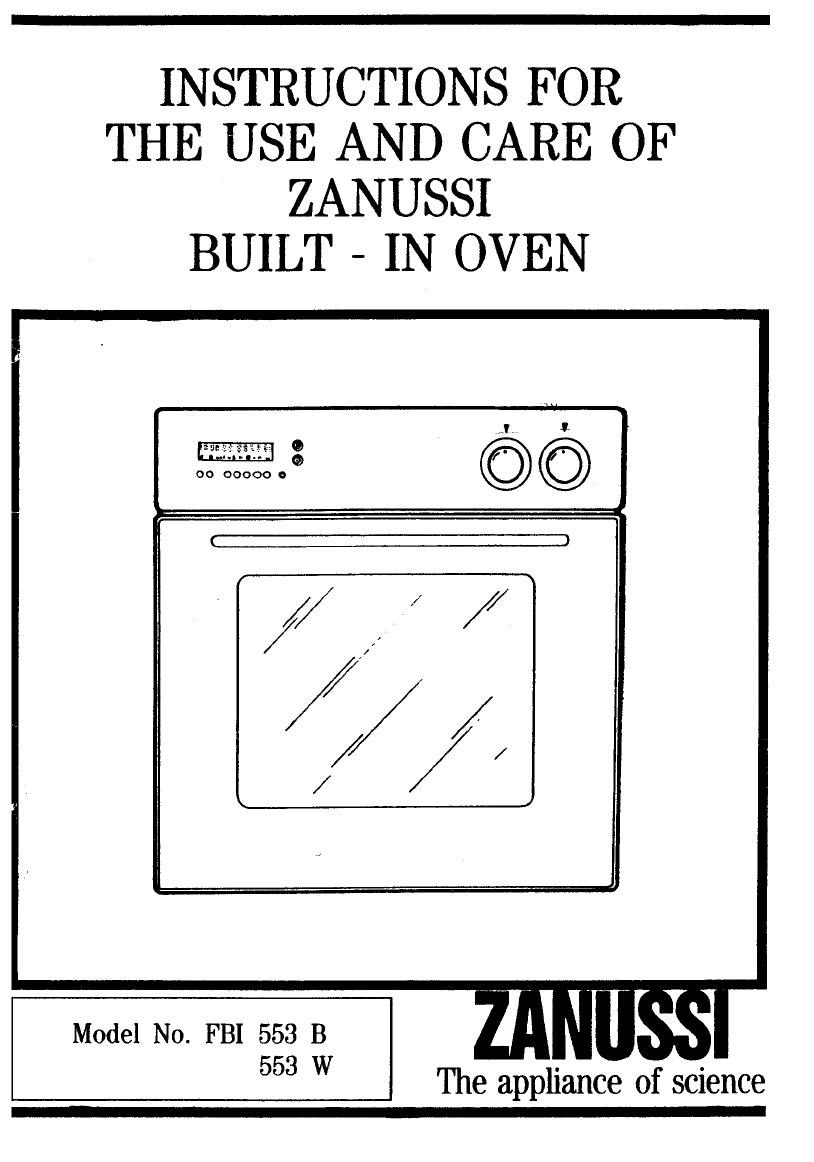
Specifications Dimensions of the building-in recess Height 58.0 cms Width 0 cms Depth 55.0 cms Dimensions of the oven interior space Height 33.0 cms Width 43.5 oms Depth 36.0 ems Volumetric capacity 50 dm* Microwave power rating Power absorbed 12650 W Power generated 600 W Power rating of the heating elements Top-bottom 2250 W Convection 2000 W Grill 2000 W Oven light 20 W Oven fan s w Cooling fan 40 W Power absorbed 2310 W Max. overall power (240 3660 W This appliance complies with EEC Directive No.
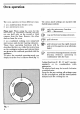
Oven operation The oven operates in three different ways: 1. as a malfunction electric oven; 2. as a microwave oven. Please note: When using the oven for ihe microwave or combined cooking function, use one shelf only on the second or third runners from the base. Remove the other shelves from the oven. 3. as a combined cooking oven using both microwaves and electric heating elements.
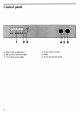
Multi function cooking All the must be done keeping the oven door shut. Turn the selector knob unit it coincides with any one of the positions from H fo V. Each position gives a different method of cooking, as described in the cookbook provided with the appliance. Then turn the thermostat selector knob (Fig. 2} and set it to the required position, Since all cooking functions take place with the door closed, it is possible to select a temperature from 50°C to MAX (260°C).
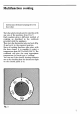
Microwave cooking Folio instructions given in paragraph: «The electronic programmers. ‘When microwave cooking takes place it is quite normal to have condensation deposits inside the over; once conking is finished dry inside with a cloth.
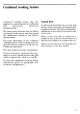
Combined cooking feature Combined cooking means that the appliance is operating on the traditional and microwave functions simultaneously. The microwave function may be added or stopped by the user at any time during the traditional cooking to suit hither requirements. The basic advantage of the combined cooking feature is that cooking times are greatly reduced compared with just the traditional operation. This also reduces energy consumption.
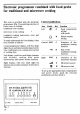
Electronic programmer combined with food probe for traditional and microwave cooking This oven is provided with the electronic programmer (Fig. 3} permitting selection of three types of cooking: traditional oven cooking microwave oven cooking & combined cooking (microwave oven and traditional oven).
Displaying programmed settings You may display any of the programmed functions, such as cooking temperature, minute minder, duration and end of cooking time, duration and power level of microwaves {provided that the start push button has not been depressed) by depressing the relevant push button function. Four seconds after displaying, the display shows the original indication.
Setting the signal type minute minder {left area on the display) By depressing the minute minder push button B (Fig. 5), the (1,00 indication appears on the display and the indicator light comes on, then turn Kiwi G until the required setting is obtained {max. 99 minutes). The minute minder clock is incremented as follows: from 0 to I minute: f-second increments (1-2 from 1 to 10 minutes: 10-second increments 9.50 seconds); from 10 to 99 minutes: I-minute increments (10.00 11.00 12.00... 99.00 minutes).
Traditional cooking {Central area of the display) Semiautomatic operation of the oven This enables you to start cooking immediately and to programmer the duration of the cooking time so that the oven switches off automatically. The maximum duration of the cooking time is 23 hours 59 minutes. Place the food o be cooked into the oven, then turn the selector knob {Fig. 1) on settings ranging between [1 and V and the thermostat knob (Fig. 2) on the required temperature. By depressing push button D (Fig.
Traditional cooking with food probe {Central} and left area of the display) For this type of cooking a probe must be used which should be inserted into the Food item. The programmer s finished when food reaches the selected temperature setting. Ta carry out cooking proceed as follows: remove the cap from the probe socket (A Fig. 8) and gently fit the probe pin (B Fig. * 8}into the socket (C Fig. 8); insert the probe into the food item, close the oven door, turn the selector knob {Fig.
Roasting Char( Internal Temperatures Pork Well Done 85°C Beef Rare B0°C Medium e Well Done Chicken Well Done {as poultry is a difficult shape with a great deal of bone it is difficult to register a correct finish temperature) FEES.
Microwave cooking {Right and central areas on the display) Microwave cooking is started by depressing the start push button @ When the oven door is opened the cooking programmer and microwave emission are interrupted; count down of the remaining caking time is stopped and indicator lighting) goes out, When the door is closed again the indicator light flashes on and off and the oven is started by depressing push button @ .
Automatic operation (Cooking started automatically} and completed After preparing the food, turn the selector knob {Fig. 1) to sating L Depress the end of operation pushbike D (Fig. 113, and on the central area of the display you will see 0.00 digits and symbol =¥ appear; then aura knob G to set up the required end of cooking time and the AUTO indicator light comes on while on the right hand area of the display indicator light 31 Hashes on and off. Depress push button E (Fig.
In the central area flashes AUTO, while in the right hand area you have microwave duration 0.00 flashing. Once cooking is finished, turn the selector knob (Fig. 1) to the zero position; carry out probe disconnection as described in paragraph: «Traditional cooking with the food probes.
Combined operation Microwave {Left, central and right areas on the display) In combined operation maximum microwave power used is 60%. The display shows only the first three power indicating dashes .l{ .
Example of combination operation with the microwave programmer duration shorter than the traditional cooking programmer Current time: 11.30 End of traditional cooking time: 13.00 Selected duration of the traditional operation: 1 hour 10 minutes Selected duration of the microwave operation: 15 minutes 00 seconds At 11.50 combined operation starts. At 12,05 the programmer stops microwave cooking, while the traditional operation continues until 13.00.
Cleaning and maintenance General hints Before carrying out any maintenance or cleaning operations, make sure your appliance is disconnected from the mains power supply and let it cool. Remove food residuals with the aid of a damp cloth and mild detergent. Never use abrasive cleaners, stain removers, bleaching agents, efe. Do not line the oven with aluminum foil.
Checks to be carried out before calling for servicing A quick check of instructions given in this booklet may spare you a useless service call. If the oven does not come on; Check fuses have not blown or swishes warned off in the domestic wiring sy Check controls are set correctly. If the oven does not cook: Check controls are set correctly 1i the oven takes too long to cook or cooks too quickly: Check instructions in the booklet. Cheek they are carried out correctly.
Peace of mind for twelve months GAUSSIAN STANDARD GUARANTEE CONDITIONS This guarantee i8 in addition te your statutory and other legal rights which will not be excluded or in any way diminished by the return of this guarantee card.
or five years GAUSSIAN 5 YEAR COVER CONDITIONS For a once-only payment you can extend your Standard Guarantee to 5 years. All the conditions and exclusions of the Standard Guarantee apply. Notes 1. Products supplied as “seconds™, refurbished, damaged or shop-soiled are not eligible for Gaussian 5 Year Cover. 2. The issue of a cover does NOT by virtue of cur having done so, nullify the exclusions. 3.
GAUSSIAN The appliance of science ‘The information in this manual is correct at time of going to press.